
What a beautiful sunny day! Today I am sharing with you How to make a Gift Envelope. This is a very versatile envelope and I think it looks fabulous.
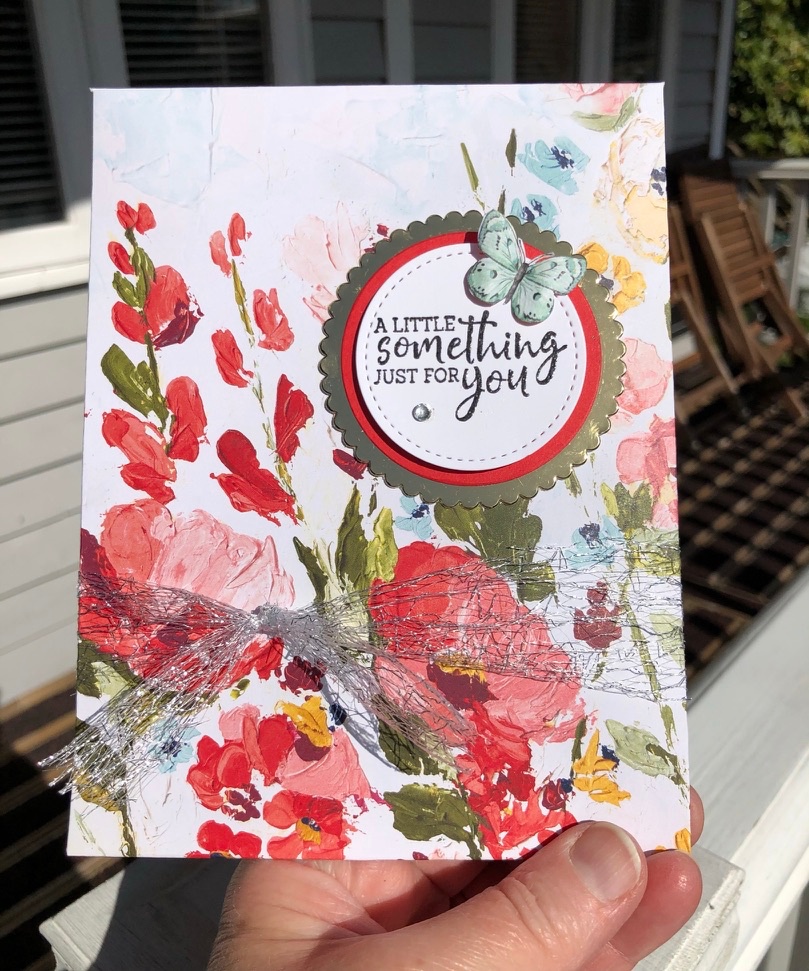
Doesn’t it look gorgeous in this beautiful paper? Here is a list of the products that I have used.
Products Used:
- Fine Art Floral Designer Series Paper: Cut this to measure 12″ x 8 1/4″ (30.5cm x 21cm)
- Fancy Phrases stamp set:
- Layering Circle Dies:
- Stitched Shapes Dies:
- Basic White Cardstock:
- Poppy Parade cardstock:
- Gold Foil Sheets:
- Metallic Mesh Ribbon:
Instructions – How to make a Gift Envelope
- Cut Final Art Floral paper to measure 12″ x 8 1/4″ (30.5cm x 21cm). Place the short side to the top of your cutter and score at 1″ & 7 1/2″ (2.5cm & 19cm). Turn the paper so that the long side is along the top of your cutter and score at 3 1/2″ x 8 1/2″ (8.9cm & 21.6cm).
- Once you have scored, it should look like the picture below. You will see that I have marked all four corners. Remove all the corners as shown below. You will now be left with a tab on top and the bottom. Cut a wedge from each edge of the tabs.
- The 1″ tab is the opening of your envelope and the other will be stuck closed – don’t stick yet!
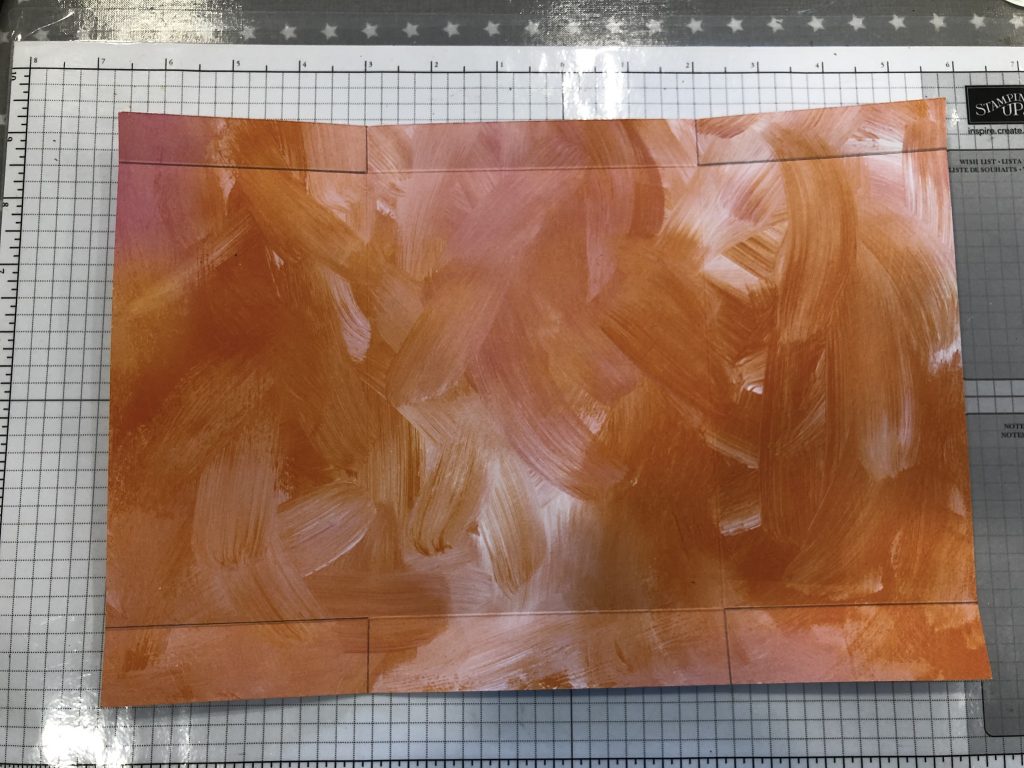
- Fold and burnish your score lines, making sure not to crack your paper.
- The sides of the envelope can be folded. The bottom does not need to be trimmed but the top side edges will need a little trimmed from each side so that the flap closes correctly.
- Once trimmed, place a line of glue on the edge of inside of one and along edge of the outside of the other. Fold one edge over the other. Make sure you have glued the right edges!!
- Place a line of glue along the edge of the bottom flap and fold up. This has now created the closed end of your envelope.
- With the flap at the top make sure this folds over easily. You can either just leave this open or you can place a velcro dot so that it can stay shut.
Decorating your envelope
- Die cut using the layering circles dies, 1 scalloped circle in Gold paper, Die cut using the layering circles dies, 1 plain smaller circle using the Poppy Parade cardstock. Die cut using the Stitched Shapes dies, 1 smaller circle using Basic White cardstock.
- Stamp your sentiment on the Basic White circle.
- Layer all the circles together – the white was placed on dimensionals but the Poppy Parade was adhered flat onto gold scalloped circle.
- Adhere flat, the circles, to the front of your envelope
- Fussy cut a butterfly or any ephemera you wish, to the circle. Add a rhinestone too.
- Wrap a piece of Metallic Mesh Ribbon around your envelope and tie a knot at the front
- Your card is now complete!
Video Available
I have made a video to show you how I put the card together with step by step instructions. Just click on the video below showing you How to make a Gift Envelope.
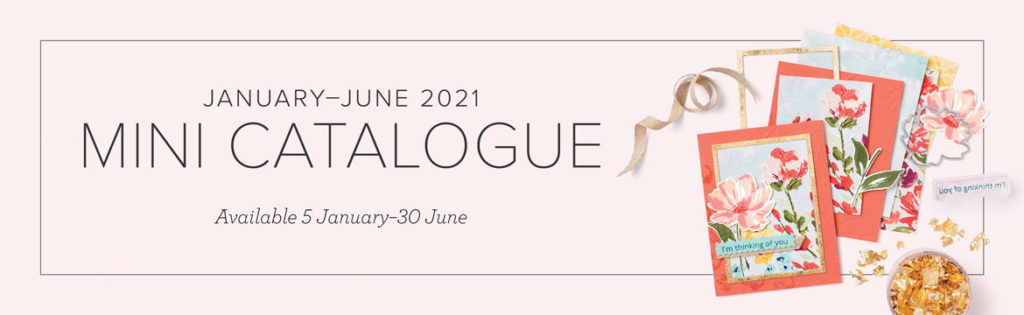
June – July Catalogue available
Our new January – June mini catalogue is now available and it is full of gorgeous new products for you to get your hands on, so just click on the picture to browse. Enjoy!
Classes at Home or in the Post
During these uncertain times, most of us are indoors trying to fill our time. How would you like to do some crafting at home using one of my kits? Click here to find out more details of how to join in the fun
I also run classes in my purpose made Studio and also in a lovely hall in Hailsham too. For details, please click on the picture for all the information you need about my classes
Thinking of joining Stampin’Up!
Are you thinking about joining Stampin’Up! and getting a lot of the rewards and benefits that are on offer? The first of which would be your bespoke “Starter Kit” to the value of £130.00 worth of product of your choice for just £99.00 and delivered free to your home. Getting a 20 / 25% discount on future products? If you think that this will be of interest to you just click on the link Join my team page for more details where you will find lots of information.
Product List
 Designer Series Paper")