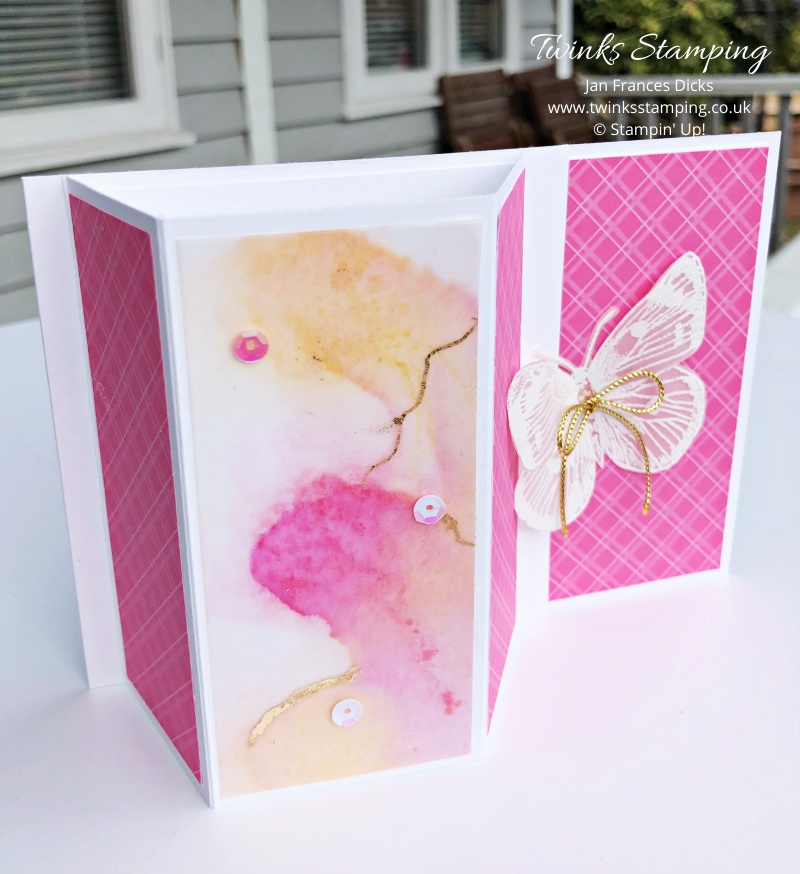
Hi, well hasn’t the weather be kind to us this week? Not much time to get out into my Studio but did manage to get a video recorded showing you How to make a Bay Window card. This card also includes some of the scraps left over from last weeks “play” using the Alcohol colouring technique. Such a fabulous technique!
This card came about after watching the talented Kim Fee of Simply Fairies, who made one of these cards (click here to see Kim’s card) for a Mystery Stamping event she held for her team (of which I am one of!).
Products used:
On this card I have used a few of the brand new upcoming products from Stampin’Up! which will be available from 4 May 2021. For me, the introduction of the new In-Colours are the highlight. I simply love the new colours even though 2 of them are shades of green!!!
- Basic White Thick cardstock – 1 sheet of A4
- Butterfly Brilliance Stamp Set
- Versamark Ink pad
- Gilded Leafing
- 2021-2023 In colour 6” x 6” Designer Series Paper. – Available 3 May 2021. – 1 sheet required
- Polished Pink Stampin’ ink pad: Available 3 May 2021
- Papaya Stampin’ ink pad: Available 3 May 2021
- White Embossing Powder: Available 3 May 2021
Instructions on How to make a Bay Window card
- Place your A4 piece of cardstock with short side to the top of the cutter, cut down at 10.5cm
- Turn and score at 1cm, 5cm, 10cm, 14cm & 14.8cm – fold & burnish the 1cm into a valley fold, the next two into mountain folds, the next into a valley fold and the final one a mountain fold.
- Open out the card so that the 1cm score on right hand side, now fold card in half. Place a line of glue on the first 1cm piece next to centre so when it glued and you open it, it looks like a book fold.
- Cut a mat to measure 13.5cm x 10cm – adhere mat (this is cut to leave a small border all around (including the fold you have just glued.
- Using your Designer Series Paper, cut 2 pieces to measure 3.5cm x 10cm, 1 piece 4.5cm x 10cm and the final centre panel is also 4.5cm
- Layer 3.5cm pieces on the right on either side of the “bay”. Adhere the 1 piece of 4.5cm DSP to the right side of the inside mat. The coloured vellum was placed in the centre panel of the “bay”. You can place whatever you wish on this panel.
- To be able to keep the “bay” shape, the far 1cm strip needs to be hooked under your embellishment – on my card I have used a butterfly which has been stamped and heat embossed and adhered to the inside mat.
- Add your embellishments
There is a video available which shows How to make a Bay Window card.
Classes at Home or in Person ?
During these uncertain times, most of us are indoors trying to fill our time. How would you like to do some crafting at home using one of my kits? Click here to find out more details of how to join in the fun.
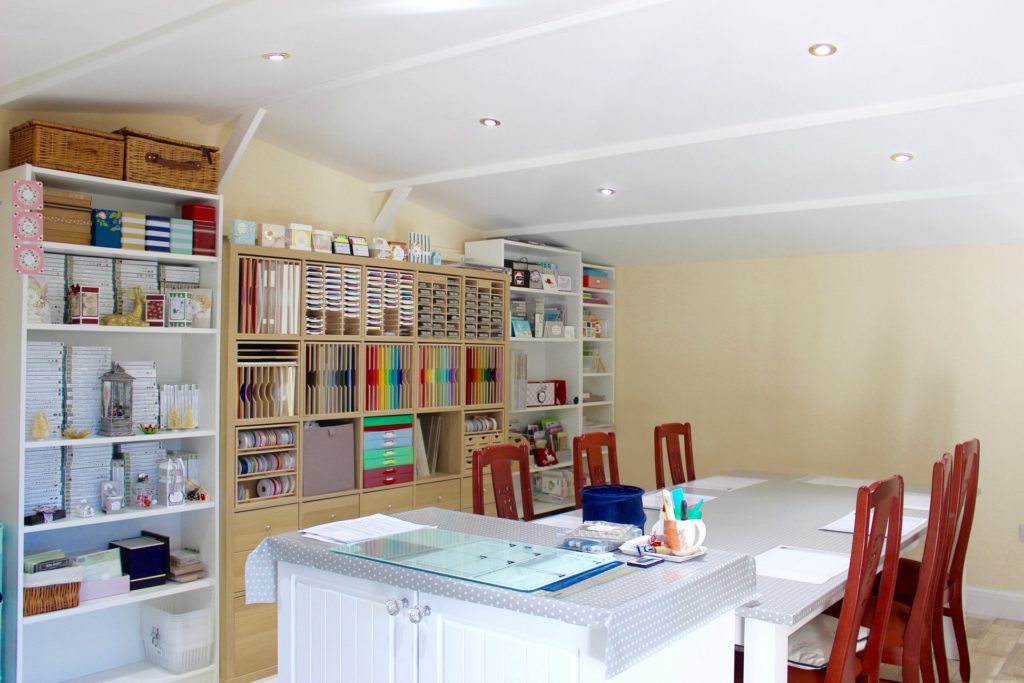
I also run classes in my purpose made Studio and also in a lovely hall in Hailsham too. For details, please click on the picture for all the information you need about my classes
Thinking of joining Stampin’Up! ?
Are you thinking about joining Stampin’Up!? Well, why not join my team? I am here to let you know what you will receive by signing up. There are certainly many rewards and benefits that are on offer!
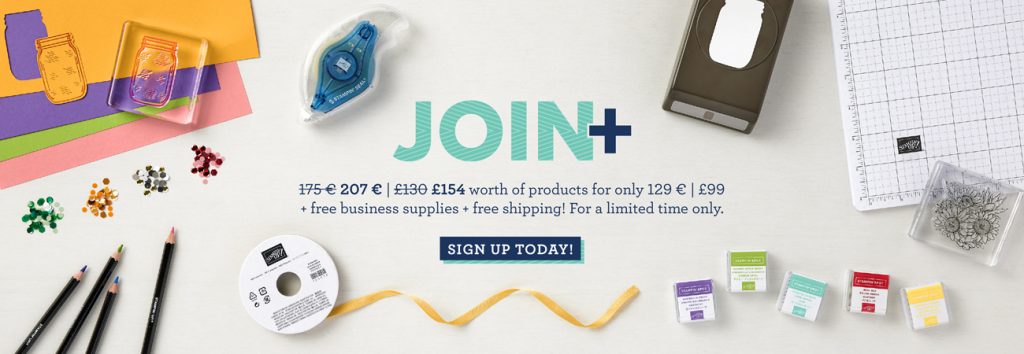
One of the first benefits you will receive will be your bespoke “Starter Kit” which, for the month of May 2021, will be £154.00 worth of your chosen product for just £99.00 and it will be sent to your home for free. You will also receive business products too to help you start your very own business (if you wish to do this).
After this you will receive a 20 / 25% discount on all of your future products . You will be the first to know about new products and offers, your own dedicated website/shop and you can join exclusive Facebook groups for inspiration and assistance, should you need it. So whether you are someone who just wants to buy the lovely products for yourself and your family & friends or whether you want to start your own little crafty business, I am here to help you.
If you think that this will be of interest to you just click on the link Join my team page for more details where you will find lots of information.
Thank you for stopping by today.
Jan